OPC to BACnet Gateway - Getting started
|
The OPC driver can be used to connect to an OPC Server and map OPC tags to BACnet objects, it is supported by the AAC-WIN - Windows Software Bundle .
Step 1. If you haven't already done so, download and install a copy of the CBMS Studio Engineering Tool and download and install the Windows Software bundle which will run as a Windows Service identified as localhost. Available devices are listed in the tree of the engineering tool by their IP address or computer name. If the device is not in the tree then select File - Open to initiate a connection. |
|
Step 2.
Navigate to Sedona-app-drivers-op-remote. This folder will is empty by default and will be populated by a list of OPC Servers, groups and tags. We start the configuration, by selecting the Add Server button at the bottom of the page to add an OPC Server. |

|
|
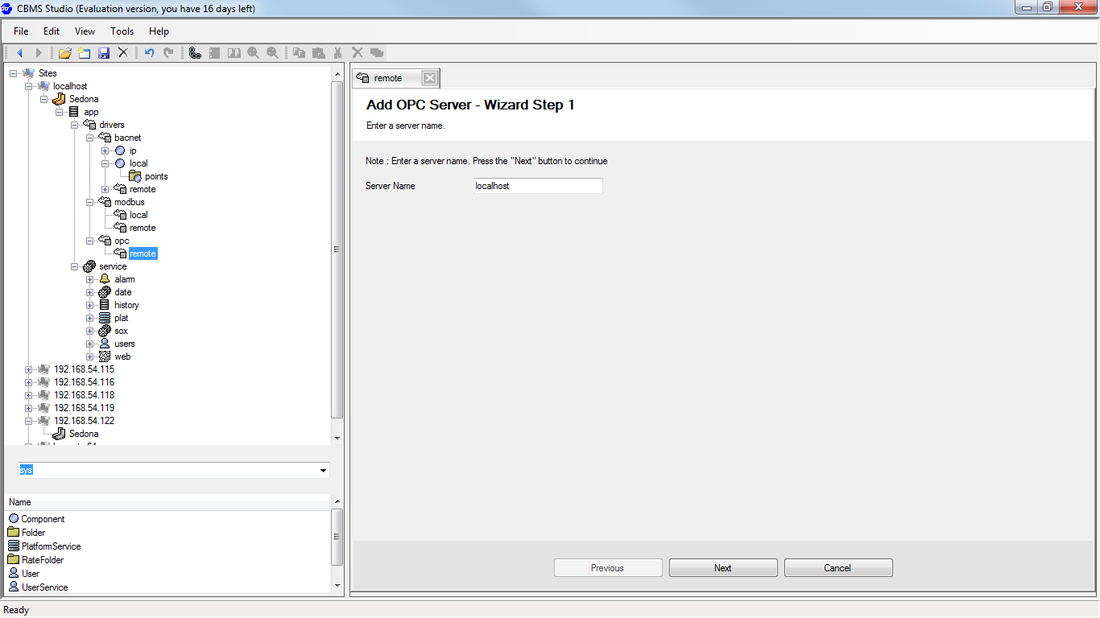
Step 3.
Enter the name of the server where the OPC Server is running.The DCOM security settings must be set to ensure the CBMS Studio Windows Service has permissions to connect to the OPC Server. This is important when connecting to an OPC Server on the local PC as well as one on another PC. Select the Next button to continue. |
|
|
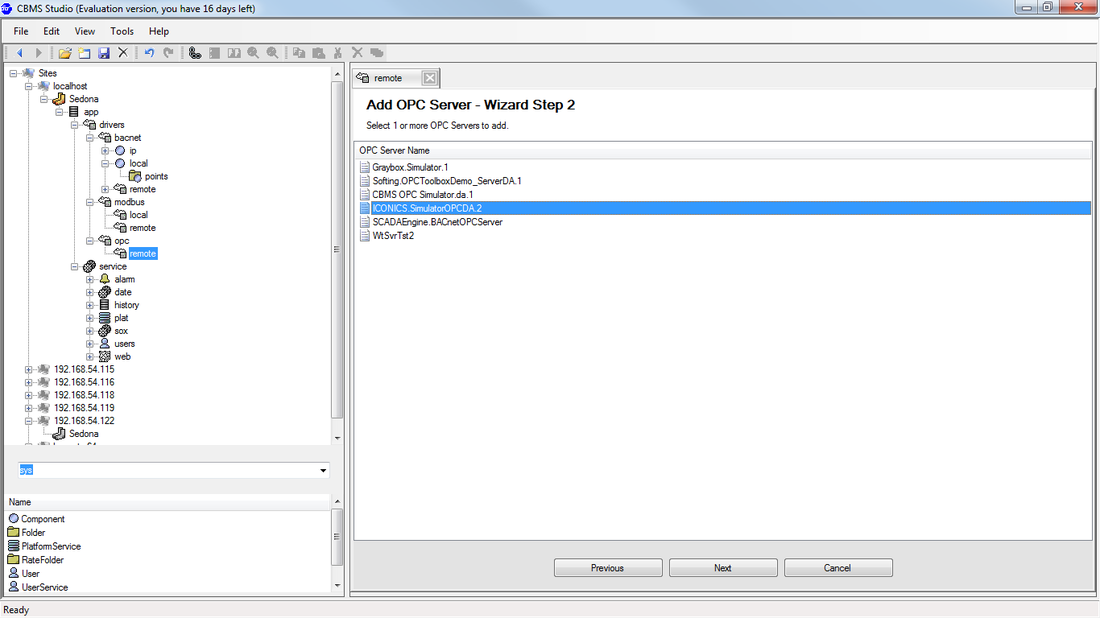
Step 4.
A list of OPC Servers will be displayed, select the one you wish to connect to and then press the Next button. |
|
|
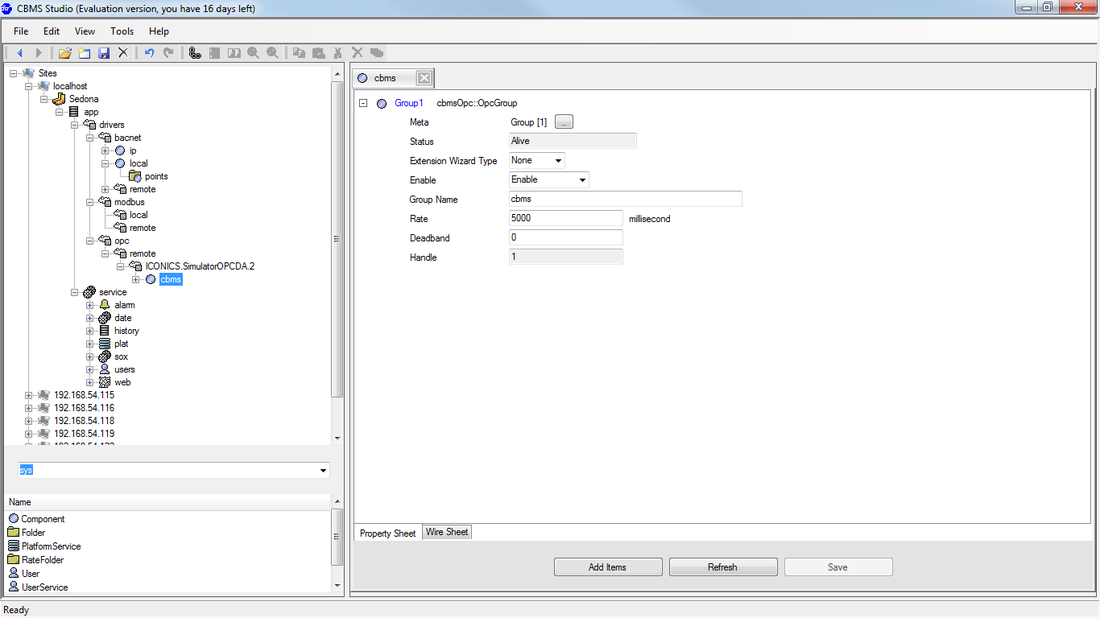
Step 5.
If the connection is successful then a new component will be created to model the OPC Server, a new OPC group is also created by default. You can create multiple groups with different OPC scan rates, however in most cases a single group is sufficient. To start adding OPC tags click on the Add Items button at the bottom of the screen. |
|
|
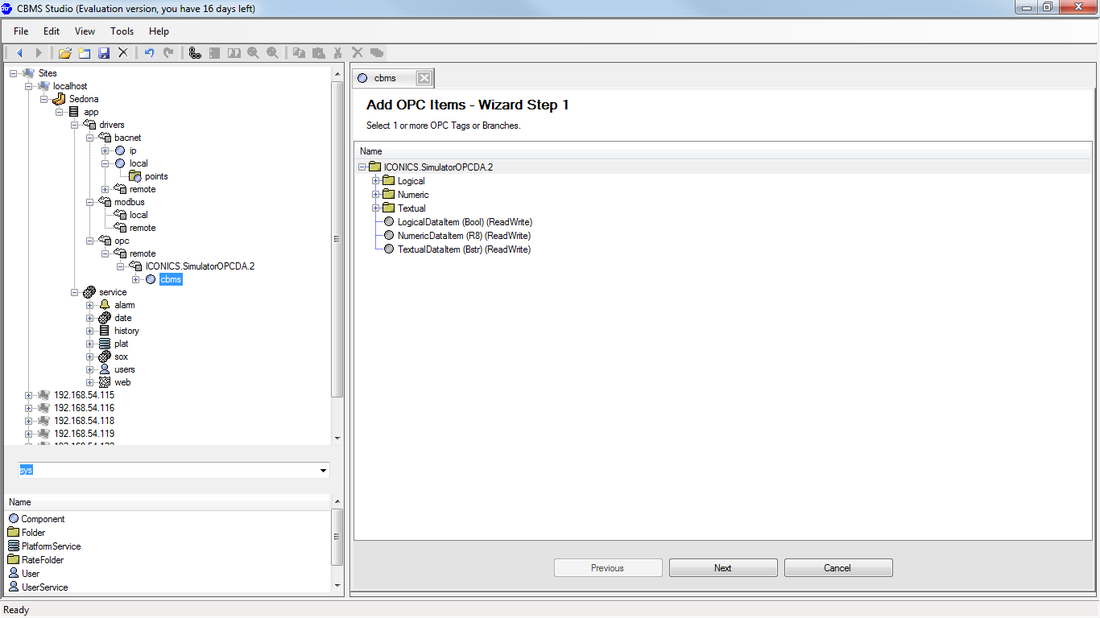
Step 6.
The OPC server browser will display a tree with a list of available OPC branches and items. If the namespace is not too large you can select the branch with the server name and press the Next button to continue. If it is a large namespace, then it may be better to reduce the number of items and select only the ones you need. Press the Next button to continue. |
|
|
Step 7.
The mapping rules can be configured from this page. If you wish to match an OPC tag base on a text string or regular expression then you can enter that into the Match What field. There is also a list of Variant Types and corresponding component types that will be used during the mapping step. To determine which tags need to be mapped, the all tags under the selected item are scanned, which will take some time to complete on larger systems. Press the Next button to continue. |

|
|
Step 8.
A complete list of mapped items will be created and can be reviewed before they are added as components. Press the Next button to continue the process. |

|
|
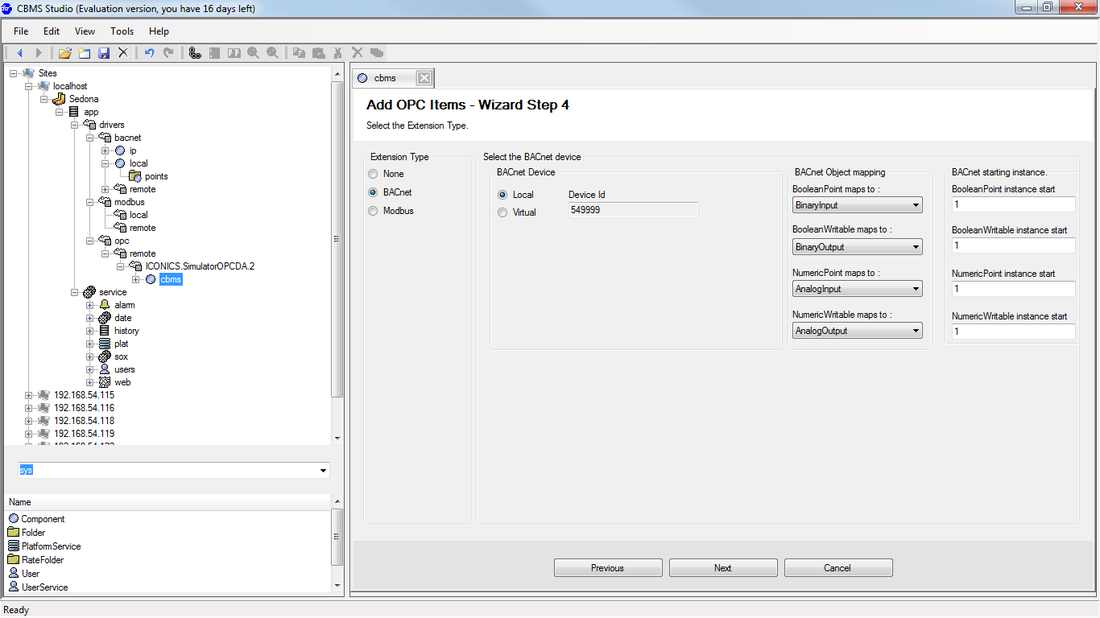
Step 9.
To map the OPC points to BACnet points we create a BACnet extension for each of the OPC components. Select the radio button for BACnet and then select the device for adding the points to. Virtual devices are supported if you want to create multiple BACnet devices, but for this demonstration we will add them to the local device. You can also select a starting instance number for the BACnet objects. Click next when you have finished making your selections. |
|
|
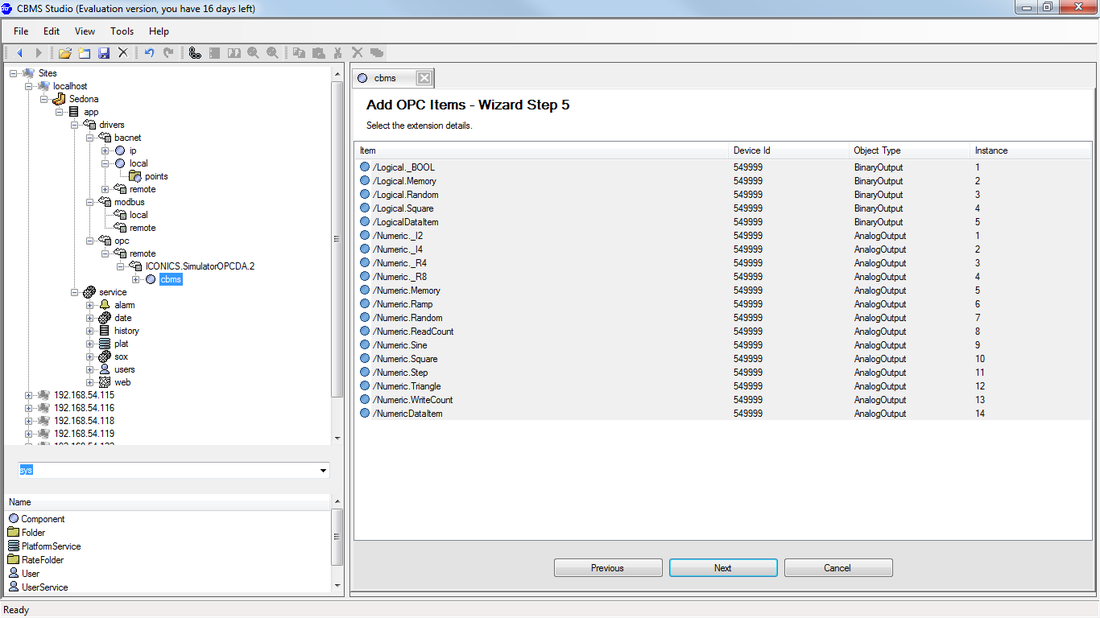
Step 10.
Review your selection from the Wizard Step 4 page and if everything looks correct select the Next button to continue. |
|
|
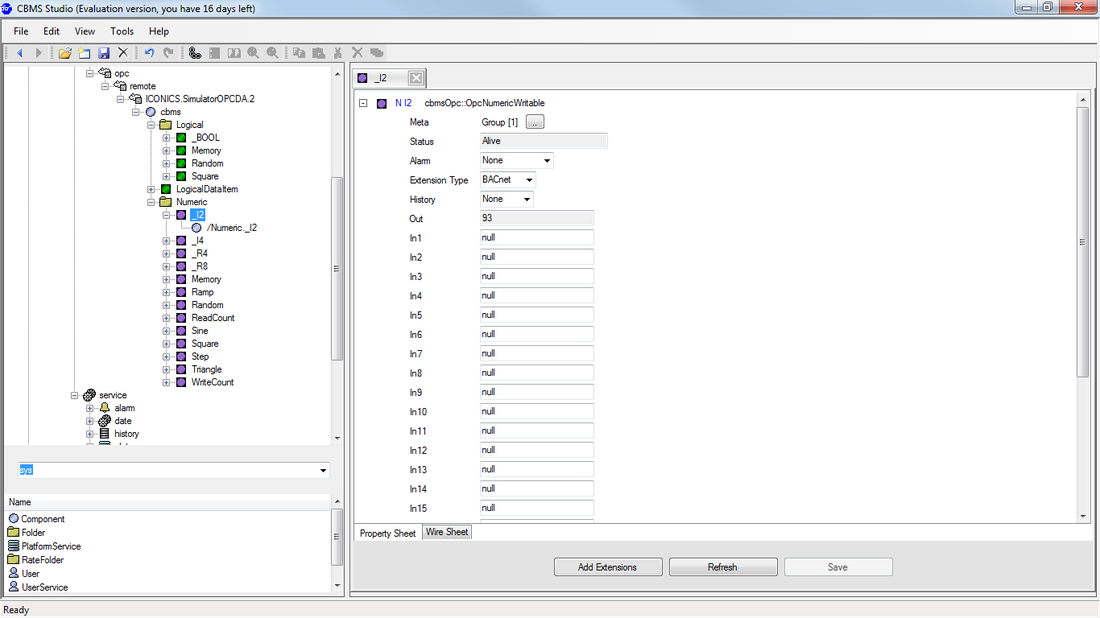
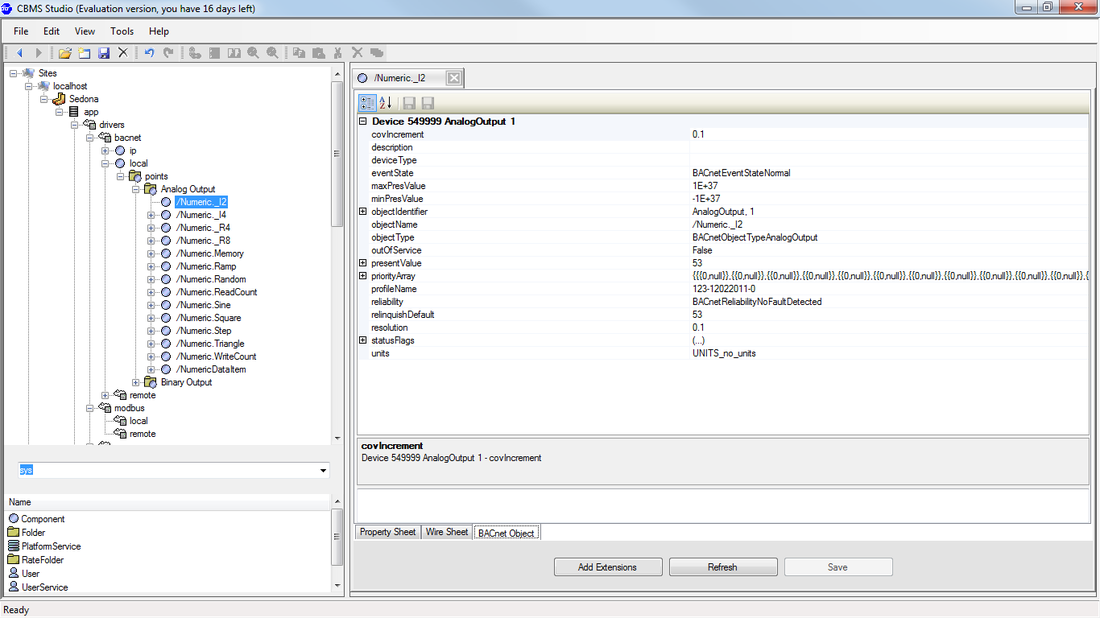
Step 11.
The OPC components will appear under the OPC Server as shown by the screenshot on the right, while the corresponding BACnet object will be visible under the BACnet local device. The BACnet points can be viewed from any BACnet client connected to the network. |
|
